Most Common Issues with the MRIaudio Sound System
1. IS THE DIGITAL AMPLIFIER POWER ON?
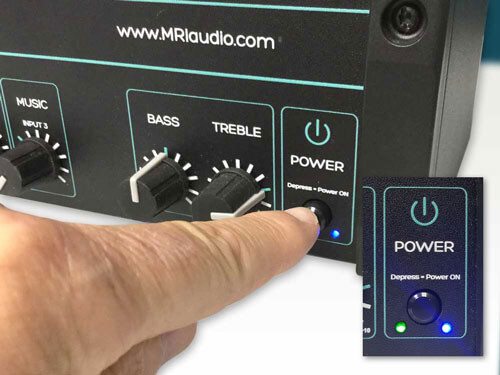
Depress the power button on the lower right of the Digital Amplifier. A green light will illuminate to indicate the system is on. The blue light will always glow whether the amplifier is on or off. If either light is out, proceed to step 2.
2. CHECK POWER CORD ON BACK OF DIGITAL AMPLIFIER
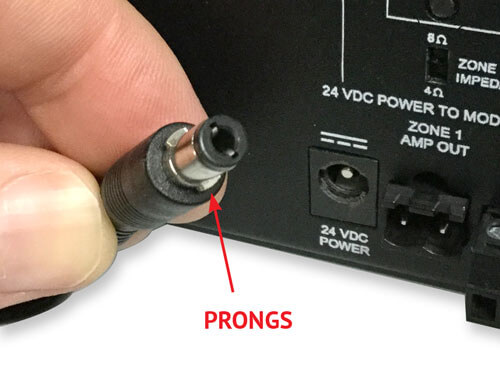
You should NOT be able to pull the cord out without twisting. The cord has two bayonet-style prongs. Line up the prongs with the hole labeled 24 VDC POWER. Insert the cord plug and twist to lock into place. If you are unable to pull straight out, the cord is connected correctly.
3. NO SOUND IN HEADPHONES – CHECK iPAD VOLUME
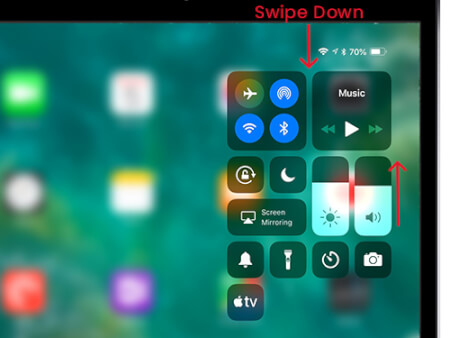
In order for the audio to work properly, the volume on the iPad must be maxed out. Slide your finger down from the top right of iPad to access volume controls. From there, slide the volume control to max. There is also access to volume control buttons on the side of the iPad. Now you’re ready to listen to your audio! Enjoy!
4. UNPLUG THE IPAD CONNECTING KIT - THEN PLUG IT BACK IN
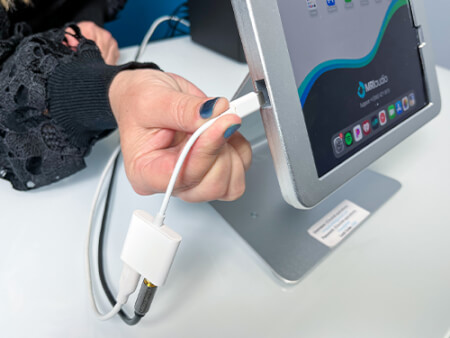
Sometimes the ipad just needs to be unplugged from the connecting kit and replugged in. Make sure to check volume levels of iPad after.
5. ADJUST HEADPHONE VOLUME
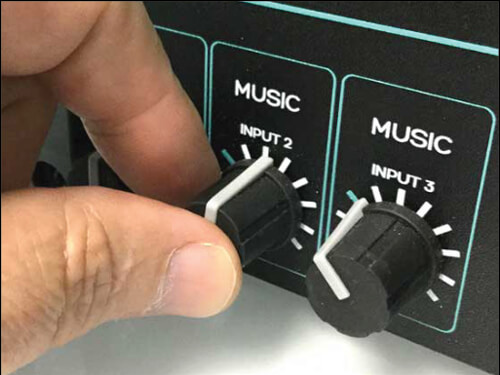
Check the headphone volume level on the Digital Amplifier. Using the MUSIC INPUT 2 knob on the Digital Amplifier, adjust the volume for the patient’s headphones.
6. FEEDBACK IN HEADPHONES WHEN USING MIC OR AUTOVOICE
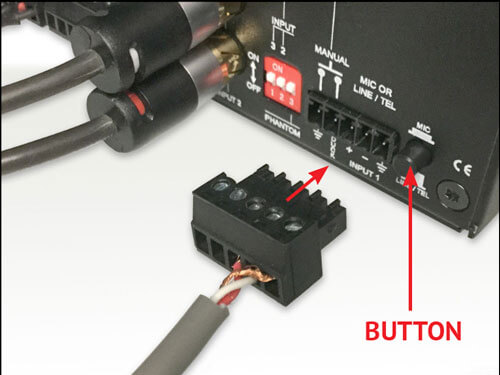
Plug Microphone or AutoVoice Adapter terminal clip into INPUT 1. Press or depress button depending on system set up.
– Microphone should be set to MIC
– AutoVoice should be set to LINE/TEL,
7. LOOSE PNEUMATIC TUBING CONNECTION
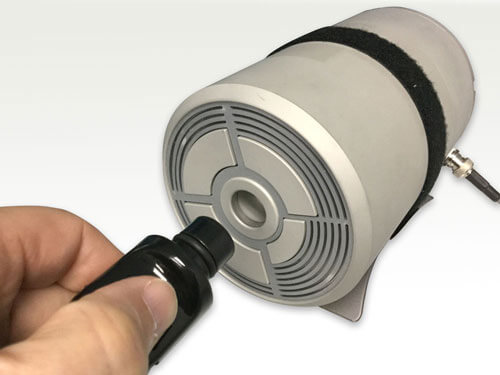
If there is no sound in headphones, but music is playing from Sonic Transducer, check the connection on the pneumatic tubing. Black tube end should be snugly plugged in to transducer.
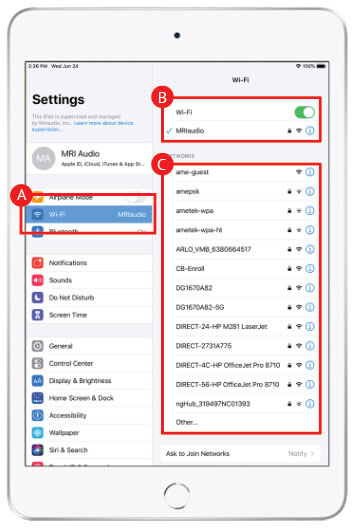
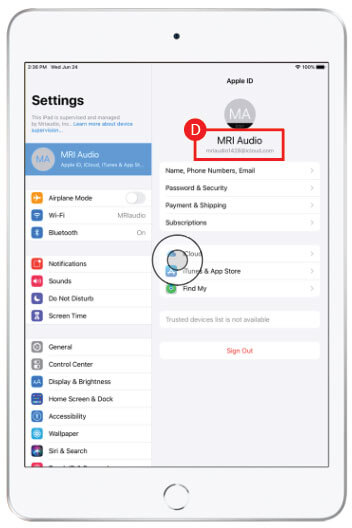
Troubleshoot iPad Settings
iPAD INTERFACE
MOUNT LOCK COMBO – 0000
iPAD PASSWORD – Howe@8487
or
iPAD PASSWORD – MRIaudio10
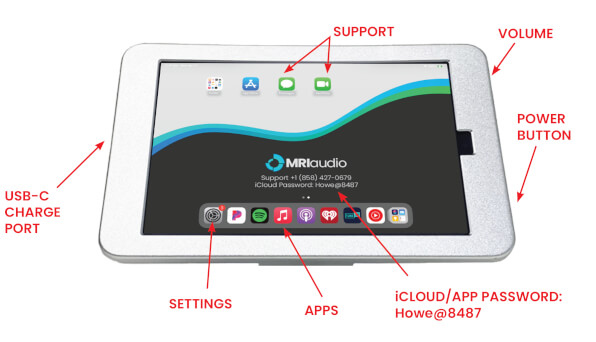
The iPad Mini arrives pre-configured and is ready to use right away. Slide the iPad into the locking mount and secure in place. Ensure that the 3.5mm jack leading to the amplifier is connected to the iPad at all times. It is recommended to keep the charger (lightning port) connected at all times to ensure constant battery life.
